Hello and welcome to the first in a series of posts where our members share a favourite award cord pattern. If you are interested in contributing a pattern, please let me know.
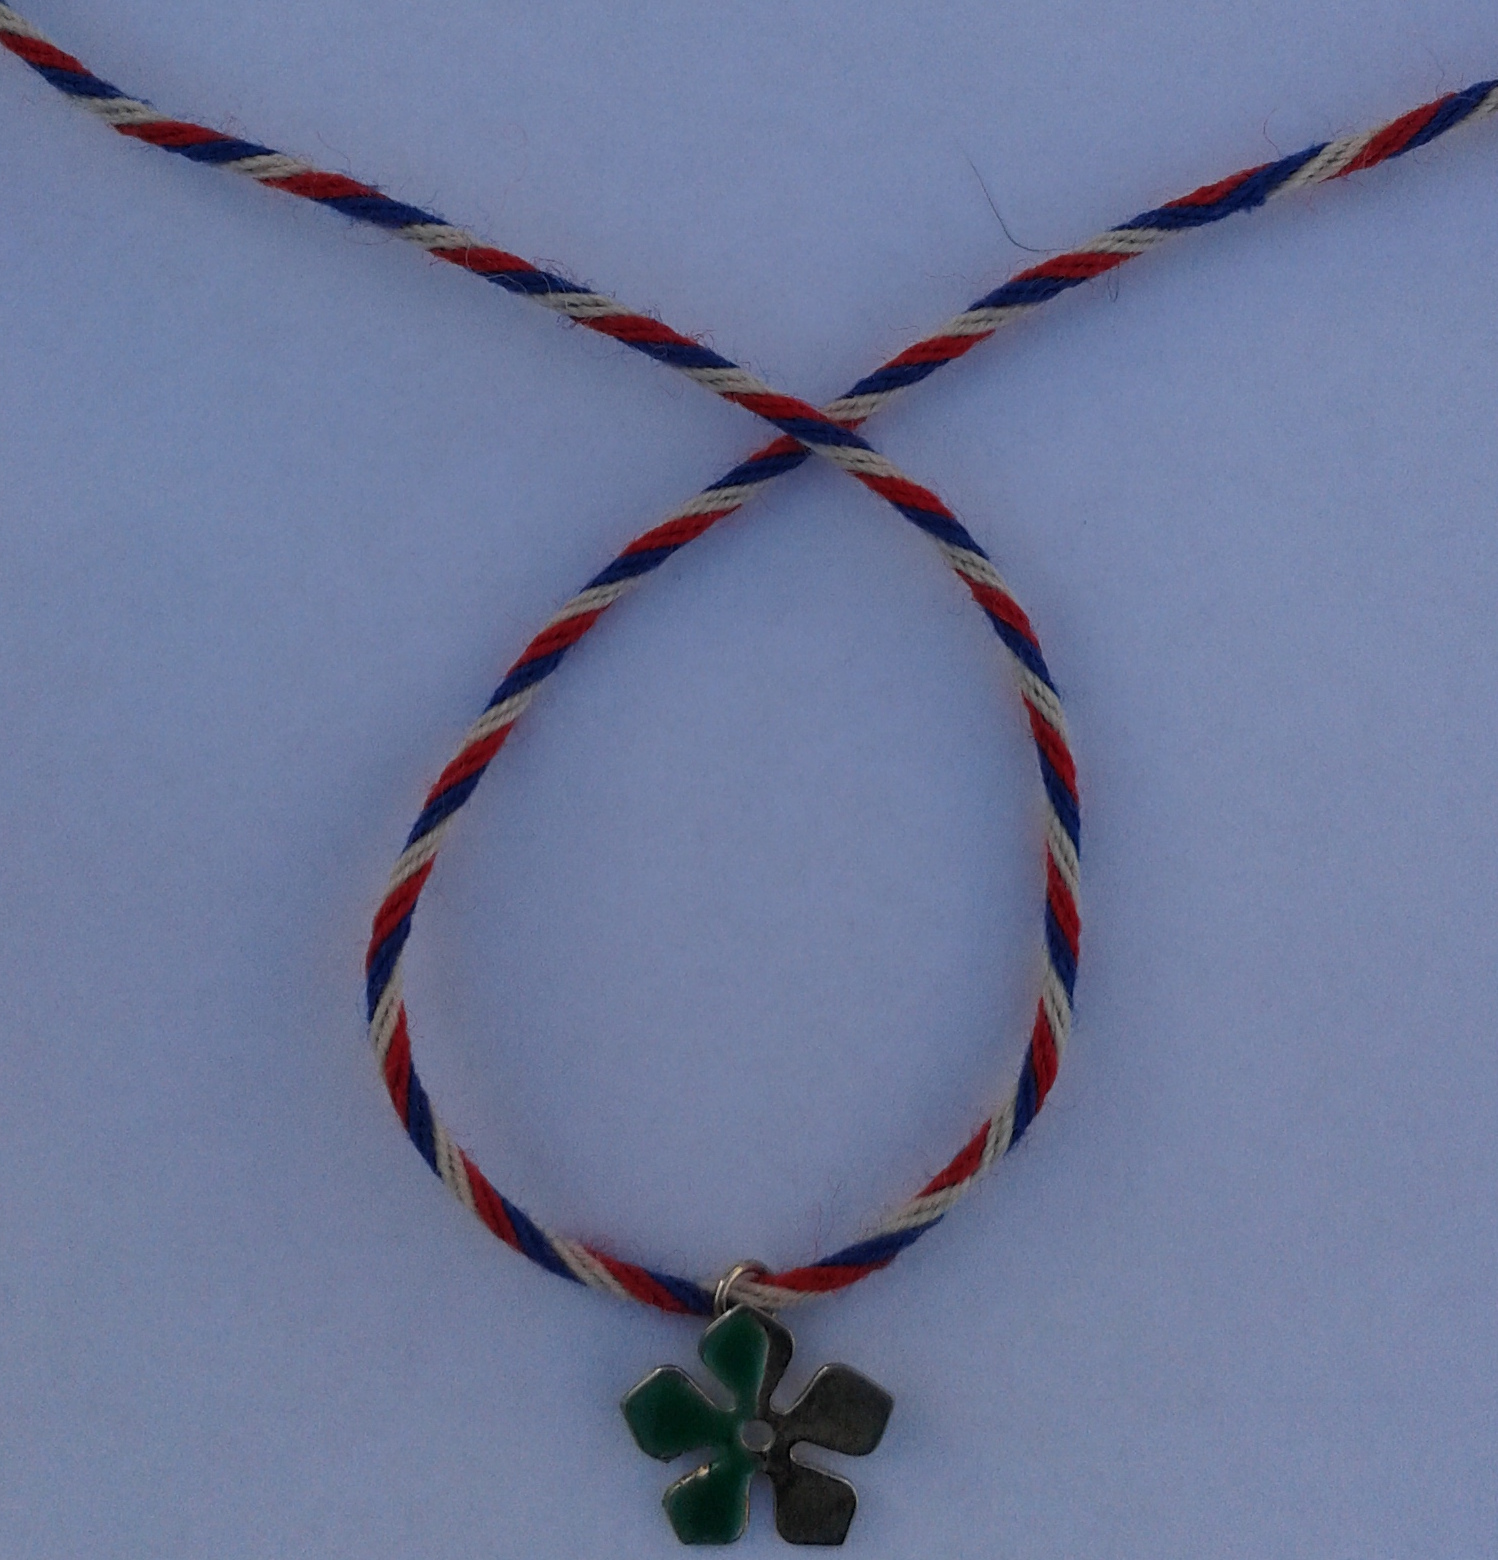
I’m going to kick things off with a tablet woven cord. This is a spiral cord based on Cindy Meyers’ instructions and I love the way you can get such a cool pattern with only one colour per card.
I’m not going to explain the very basics of tablet weaving in this post, so it may not be the best choice for your very first tablet woven band. Probably fine for your second though!
The instructions are quite wordy, but not because the band is complicated, just because I’m trying to explain why you do things, not just what to do.
Tools and Materials
8 120cm lengths of yarn in each of blue, red and white. I used 9000 m/kg wool, but mostly only because I was out of white silk!
Strong blue or white thread for weft (will snap if you can’t yank on it a bit)
6 tablets/cards
Instructions
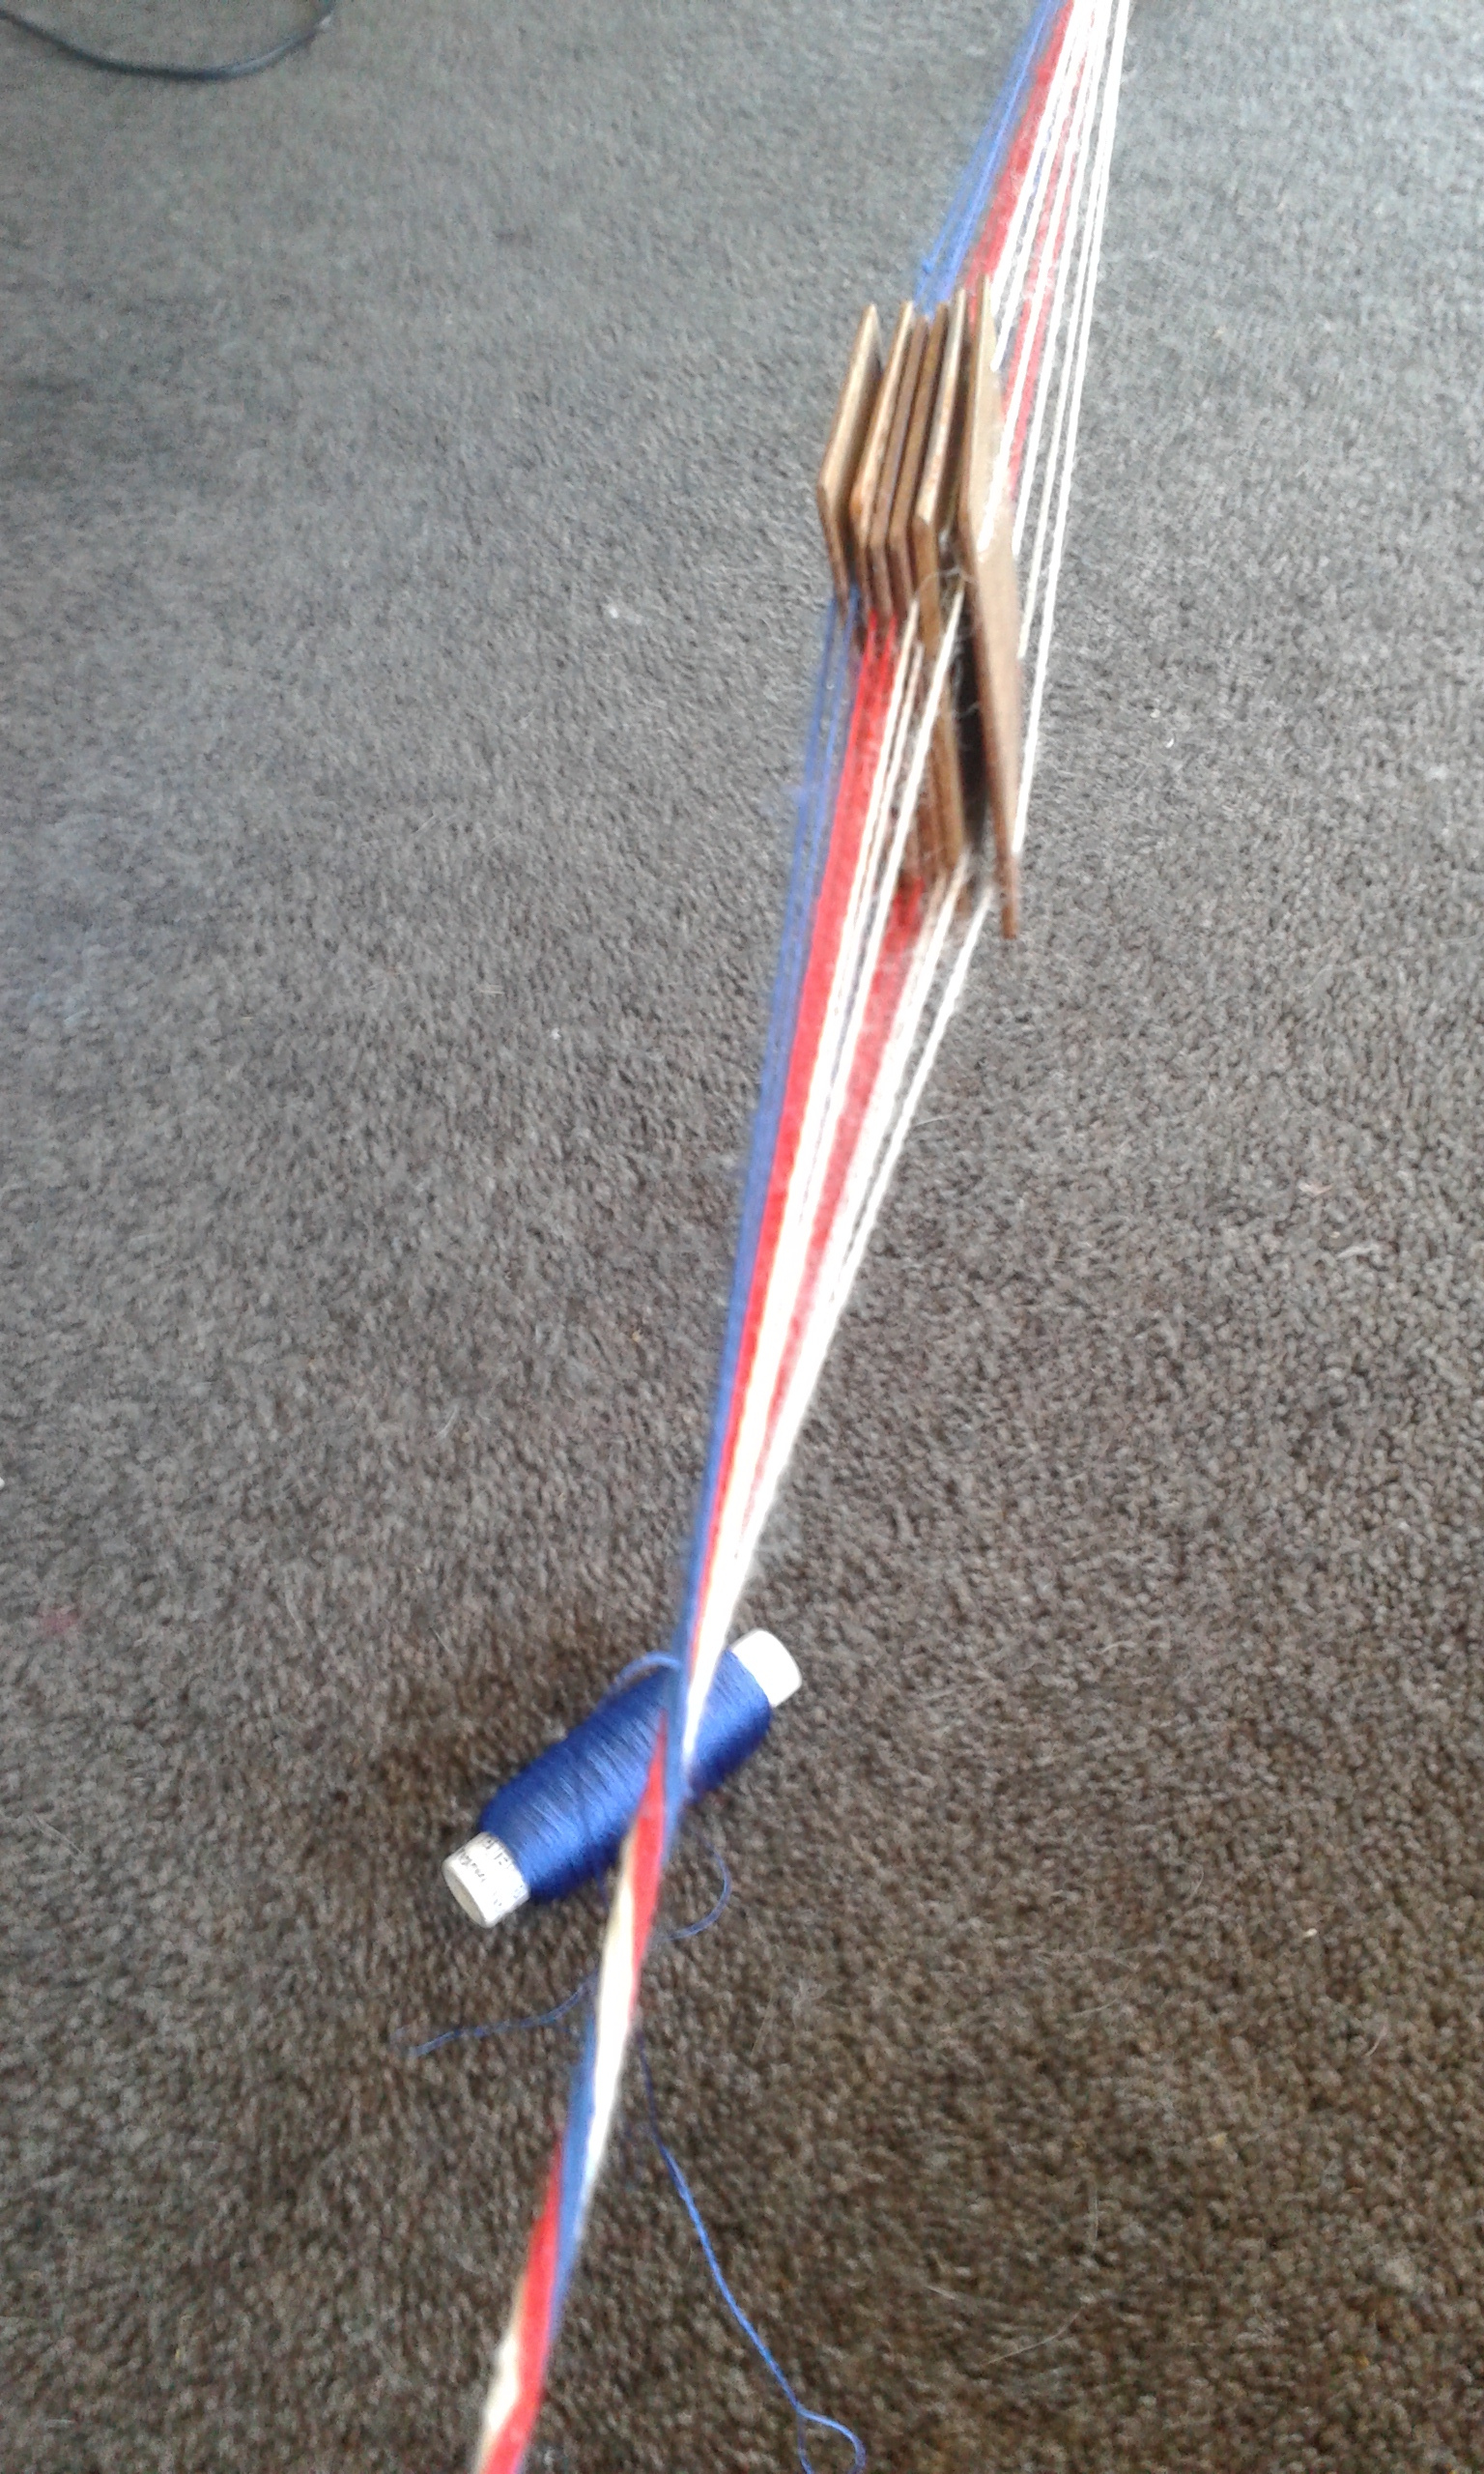
Warp up cards 1 and 2 all in blue, cards 3 and 4 all in red and 5 and 6 all in white
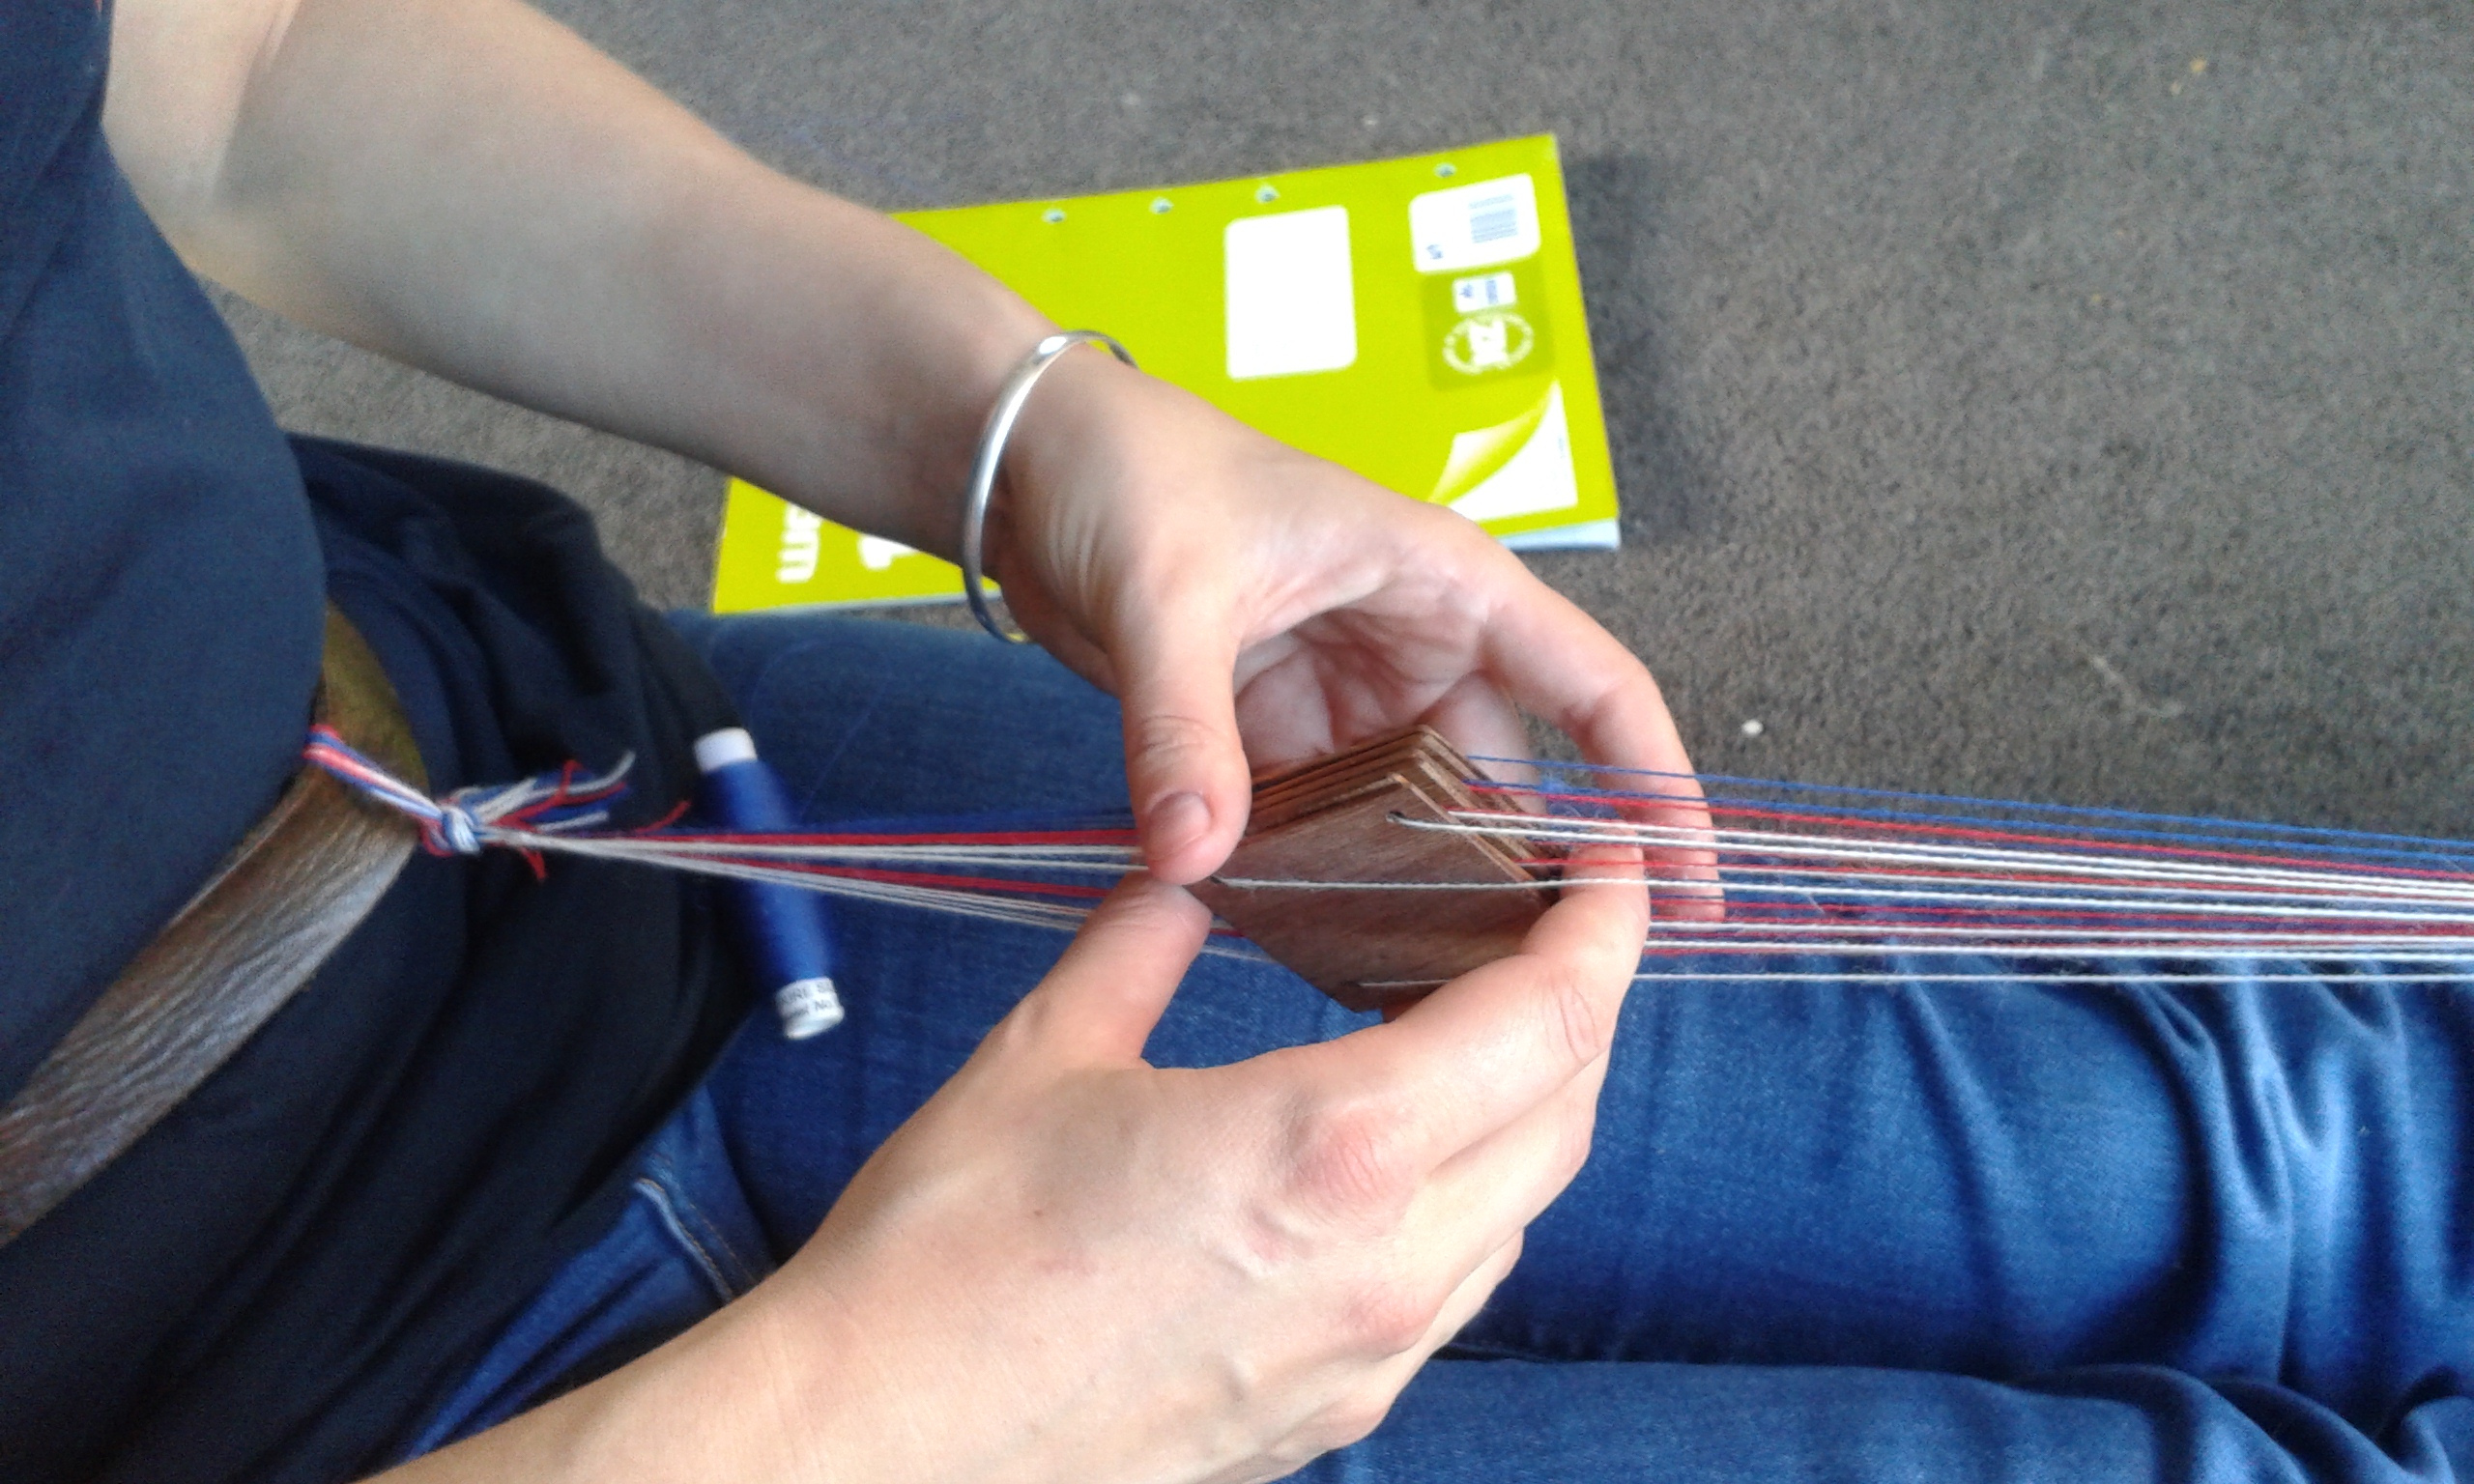
String up. I wove “backstrap” style with one end of the warp tied to a tablet leg and the other tied to a belt.
Now at this point, you could orient the cards in alternating direction SZSZSZ or ZSZSZS and weave all in one direction. You’d get a flat band with stripes running along the length of the band, which would make a perfectly acceptable award cord.
If you tried the same thing with all cards in the same direction SSSSSS or ZZZZZZ, the band would look OK while it was under tension but once you cut it loose it would spiral upon itself.

To make anything into a tube instead of a flat band, rather than passing the weft from left to right and then right to left, you pass the weft in the same direction every time, and bringing it back over the top of the band and pulling it tight every time so the edges of the band curl up to meet each other. The weft will form a spiral inside the band.
We combine the techniques of threading all cards the same way to create a spiralling warp, and also spiralling the weft, to create a tubular band with lines of colour spiralling up it. The important thing to remember is that the twining of the four threads in a single card needs to spiral in the opposite direction to the spiral of the weft. Otherwise the twist will (mostly) cancel itself out and the stripes will come out straight(ish).
So, here’s the plan. Z-Orient each of the 6 cards ie when the card are straight and looked on from above, the threads should run from bottom left to top right. Pass the weft through the shed from right to left close to you, and then turn the cards a quarter turn towards you (in the direction that you would roll a ball to make it come towards you). Beat. That is one repetition. Now take the weft over the top of the band and back through the shed from right to left. Turn the cards towards you and beat again. At this point pull the weft tight so the tube closes itself up. Now you’ve made it through the second repetition! Get the picture? Do a few more!
The more you weave, the more the cards are going to want to flip around when you let them go. Be careful to always keep the cards ordered with white on the right. If white is on the left, the band is upside-down. At the point when the cards want to do a full rotation, let them! You’ll start to see the spiral building up. As long as white is on the right, you’re good.
In every tablet woven band where you turn the cards in the same direction repeatedly, twist builds up at the far end card by card. The twist at the far end is the mirror image of the twist in the woven section of the band. In this pattern, because you’re letting the cards flip around as a unit, you’ll get a second type of twist building up. The threads from all the cards will twist around each other, again in the mirror image of what’s going on in the woven band. The solution is the same as for other bands: Reverse your turn direction! This means two things: 1. Start turning the cards away from you 2. Instead of bringing the weft thread over the top of the band from the left side to the right side and then passing through the shed from right to left, just bring it back through the shed from left to right. On the next pass, take it over the top of the band from right to left before bringing it back through the shed from right to left. The spiral of the band will reverse itself, and the unwoven end of the warp will untwist.
You will probably see a little of the weft at the reversal point which is why I recommend one of the edge colours (blue or white) for the weft rather than the central red colour.
That’s it! Weave until you have about 70-80cm of cord, or until there isn’t enough free warp to keep going. Cut free and you’re done!
Variations
There are lots of different variations on this pattern: you could do it with only 1 or 2 colours, or with the colours alternating blue-red-white-blue-red-white. You could use more cards – if you use too many the tube will be loose and hollow in the middle, or fewer – although you may then have trouble pulling the tube tight and the weft will show (although you could use this to decorative effect!) You could a have different number of different coloured cards, eg five blue and one red would give a thin red line spiralling up a blue tube.


